

The second major component set for Kit 11 are the various boiler fittings, comprising a number of valves and pipes, the whistle, fire hole door etc.
The fittings are relatively straightforward especially as, for the moment, I am not using any loctite to fix them in position.
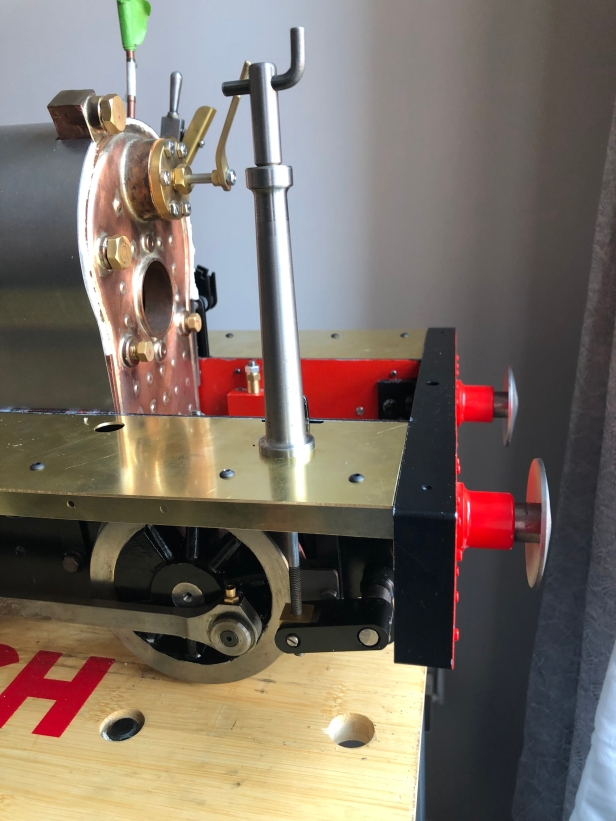
The first element to go on was the hand brake which comprises the pillar that is fixed through the running board and the handle which threads into the brake mechanism. All of this went on very easily.
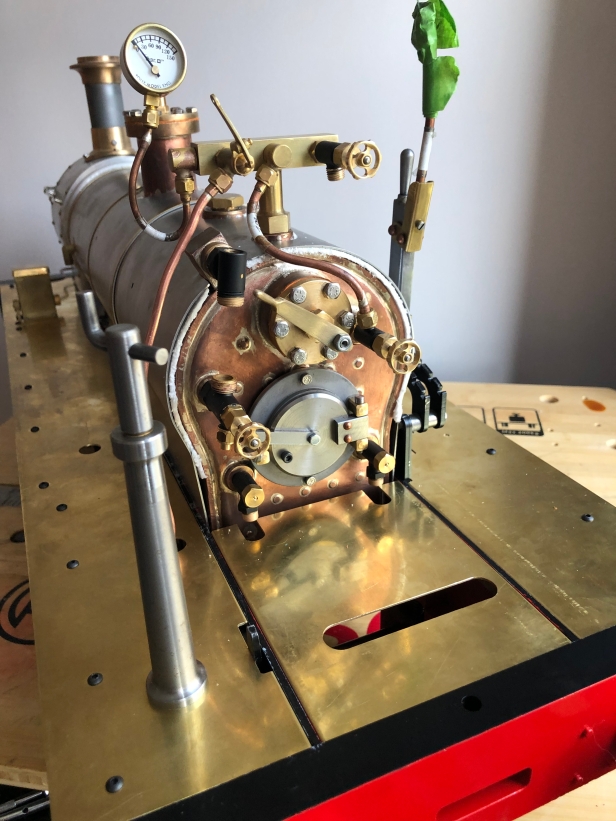
The fittings all went on without a hitch. It is important to follow the order in the instructions as the fire hole door fitting has to go on at a certain point.
The pipe bend for the blower valve is quite tricky to achieve but I got there in the end.
The whistle pipe was a bit of a pain. It seems too long and there is quite a bend of pipe below the running boards. I might raise this with Polly and see if they could make me a slightly shorter one.
I haven’t fitted the gauge glass yet and will only do that during final assembly after painting.
With these fittings that is it for Kit 11. I am planning on collecting Kit 12 after the Doncaster Model Engineering show in mid May. In the meantime I am going to calibrate the lubricator which will be the subject of another blog.


All seems to be going well and looks like a real engine. It would be nice to see the contents of each kit laid out ready for installation. Maybe I should have said this after kit 1!!
LikeLike
I am looking forward to seeing the Sadle Tank build, I assume it will be Kit 12.
I have followed this blog since your artical appeared in the SCMES Steaming Ahead Sept-Oct 2018 , it will help me when I get my set of Kits in August.
Very nice blog.
Ray
LikeLike
Paul – I might augment things during the final build after painting. There are typical kit contents photos on Polly’s website.
LikeLike
Ray – I believe the tanks come pre-soldered and assembled. So most of the tank work looks like it is for paint preparation purposes e.g. removing any excess solder. Based on what is missing, kit 12 will include the grate, the cab and windows, the tank, pipework and controls for the injector and tanks, bypass valve, cab finishing (e.g. handles/rails), safety valve
LikeLike